There’s nothing so disturbing like a leaking or otherwise damaged rooftop. As they age, mobile homes tend to have leaking rooftops more often than other types of homes. The reason for that is aged or deteriorated roof coating, with many other factors, led by poor ceiling material.
In time, your rooftop gets stuffed with branches and other debris, which can cause severe damage to your mobile home roof coating. In order to prevent all this, some maintenance measures are needed. It’s recommended that you clean your roof every now and then, this will prevent pilling up of branches and debris on your roof.
In the meantime, you should repair your roof coating every couple of years, just as a precaution. Here we have put together a detailed guide for mobile home roof coating. You will have full insight into this process as we will show you everything you need to do, step by step.
First we’re going to show you some of the materials that you can use and what are their best features and negative aspects. By the end of the article, you will have all the information you need in order to do the job properly.
Mobile home roof coating materials
Various materials have different features. Depending on the material you decide to use, the way you apply it, maintain it and at the very end-replace it will change. The choice of your coating material should also differ based on the area you’re living in.
If you live in a hot climate, you need a material that reflects the sun and keeps the home cooler. For those of you that live in a cold climate, you should choose a material that could hold against the snow load and keep your home insulated.
The materials we are going to mention in this article are the most commonly used and have proven to be the best mobile home roof coating materials.
Aluminum coating
Aluminum coating material is a cost effective material that will protect and prolong the life of your roof. This material is composed of asphalt and petroleum solvents mixed up with aluminum fibers and pigments.
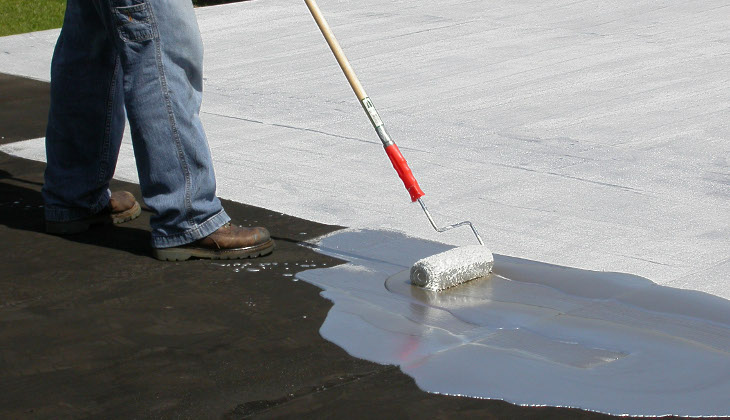
This type of coating offers a durable protection and provides an excellent reflective surface. As such it’s the best solution for areas with hot climate, as it will keep your home a few degrees cooler during those warm summer days.
The application process is simple enough and in most cases, depending on the manufacturer, 24 hours after the application the coating is formed. So this means that you will have a durable, cost effective and heat-reflecting roof coating.
One thing is important to keep in mind, though, when you buy aluminum coating, be sure to mention that you need mobile home roof coating, as it’s different than regular coating.
Silicone coating
Silicone is a polymer that’s used in almost any industry these days. One can argue that there’s almost no aspect of modern life that silicone is not a part of. As a coating solution, silicone is a great adhesive, and it’s an excellent choice in case you have some dents and cracks on your roof that you can’t fix as it lasts longer than most other materials.
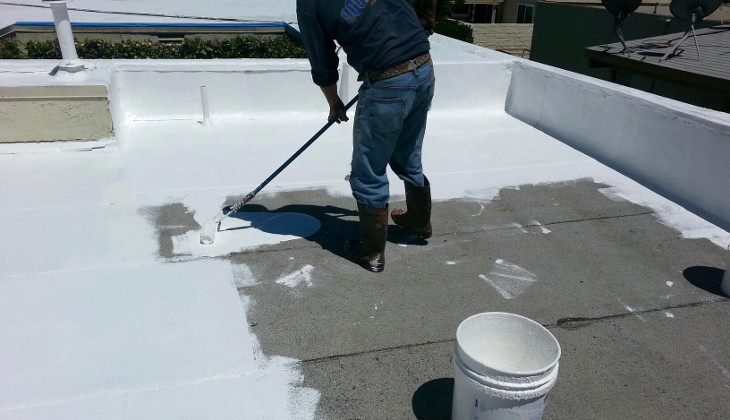
Silicone will provide you with some insulation and will prevent leaking or ponding. This means that your roof will be safe against the rain or snow. Silicone coating creates a clean and smooth surface, which will reflect some sunlight, and stands up to heat and cold. So this means that it won’t melt in the sun or get ruined by the cold weather.
It doesn’t take an expert to apply silicone coating. The best thing about this type of coating is that it requires no special surface preparation as it will adapt to any dents and cracks.
Acrylic roof coatings
Acrylic roof coatings are liquid materials that protect your roof and possess a high level of resistance to UV lights from the sun that cause the deterioration of your roof. In other words, sun will not be able to reach to your roof and it will stay safe for a long time.
Another great feature is that acrylic coating expands and contracts along with your roof. As the temperature rises and falls, your roof material will expand and contract. More rigid material will crack and break in time, but acrylic coating will stay cohesive.
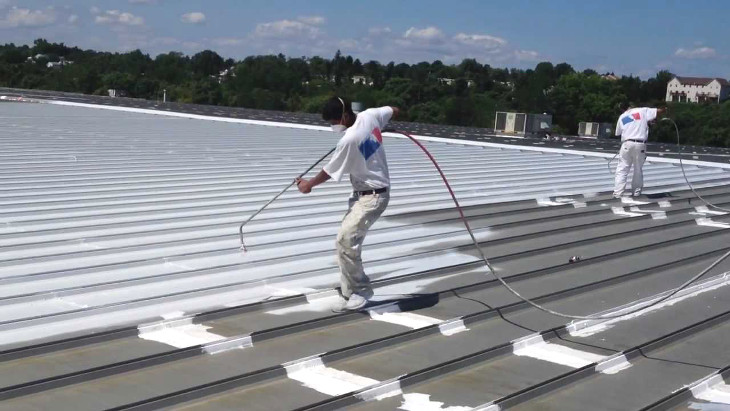
In order to apply this type of coating, you need to clean up the surface, fix some larger cracks and deterioration of your roof and then just apply the coating. The coating applies just like a regular paint, although it’s not even close to paint. So in a few coating layers, your roof will have a brand new, durable acrylic coating.
Self-adhesive coating
This is a special kind of coating. The reason it’s special is that you don’t have to apply it with brush, as all the other coating materials. These self-adhesive coatings are mostly rolls of self-adhesive films that already have fully prepared layers of protective material.
This type of coating is especially popular because of its easy use and durability. The film can be aluminum foil with layers of asphalt that provide not only water protection but also an excellent insulation.
In order to place a self-adhesive coating, you need to go through all the steps we provided, the only difference is that in the end, you don’t have to use your brush. All it takes is to roll out the coating and “stick it” over the roof of your mobile home.
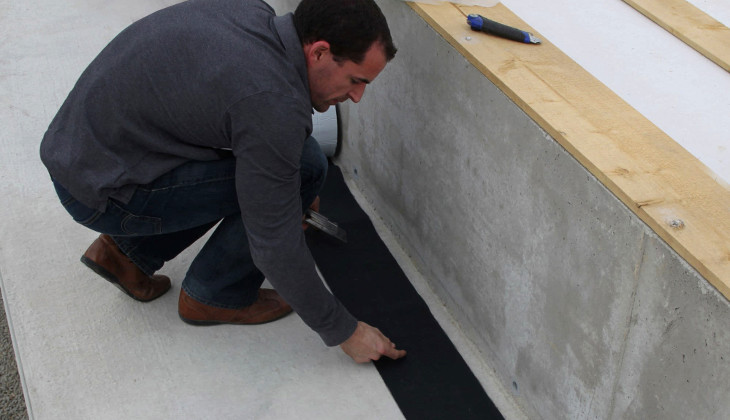
The aluminum outer surface is an excellent choice for warmer climate areas. It will reflect the sun and keep the house cool.
Mobile home roof coating process step by step guide
First of all, before you even consider starting to work on your roof coating, make sure that the weather conditions are optimal. You don’t want to start working and then have sudden rain ruin your progress. Even if you complete your job before the rain, you would like to have a few dry hours after you have applied the coating.
This will help your material to dry and stick to the roof. Some coating products require at least 24 hours of dry weather. As I said, it depends on the product and the brand you’re using, but just in case, make sure it’s nice and dry weather outside.
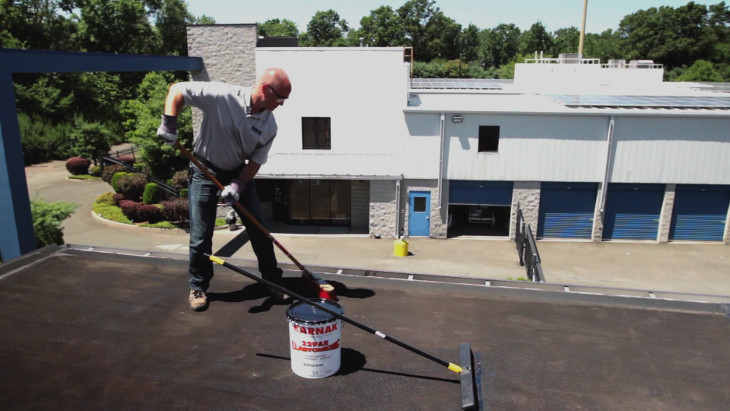
Also, make sure that you are wearing all the necessary safety gear. Wear safety glasses, work gloves and some work clothes. And stay safe as you work on a high altitude.
Step 1 – Roof inspection
Before you even start to prepare your roof for a new coating, you should inspect your roof for cracks, and other deterioration signs. Try to make a close inspection of the entire surface, as you don’t want to miss any important details.
Step 2 – Cleaining up the surface
You will need to use sandpaper and wire brush in order to remove your old coating, and to fix any bumps in your surface. Use a broom and clean the entire surface, since you need it to be smooth and clean in order to apply your coating and protect your roof. Take special care while you clean up the seals next to j rails, flashing and roof seems.
Step 3 – Repairing the damage
See if there are any screws that need to tighten up or replace. It’s important to keep your roof fixed and secure. Coating won’t help you if your roof is not in its prime condition. Check for any mildew, as it might appear over time. The best way to remove it is with some kind of chemical component that will destroy any mildew on your roof.
The best solution would be to use a diluted chlorine bleach, as it will remove all the mildew spots with great efficiency. After you have applied chlorine bleach, you can use some detergent to rinse all the critical areas.
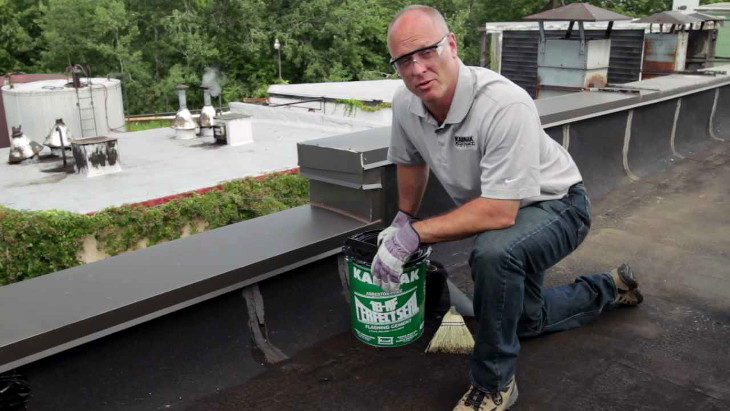
Next thing you should do is use a garden hose and spray your roof surface with water in order to check for any possible puddles. In case there are some places where puddles form, you should make sure to fix those dents in the roof.
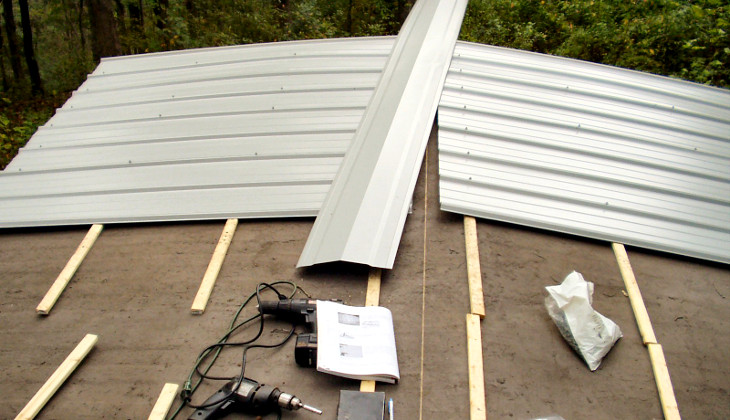
As most mobile homes have aluminum roof, you should unscrew the dented panel and fix the indentation with a hammer. Please be careful as you don’t want to overdo it. Once you have fixed all the bumps and dents, check if there are any areas with corrosion.
Use the sandpaper or a wire brush in order to remove any corrosion before it spreads further. If the corrosion has created some major damage to your roof, you should replace the damaged panel with a new one.
Now that you are sure that you repaired all the damage, you can continue to next phase of the process.
Step 4 – Apply the metal primer
When you finish with the repairs and inspections of your roof, it’s time to prepare your roof for coating. Before you place the coating, you need to protect your metal surface with a metal primer. Since we promised a detailed guide, we shall explain this process as well.
- Use a water-based metal primer. You can ask at your local hardware store for the best or the most cost effective water-based metal primer. In order to apply it, you will need a brush, roller or a spray gun. Depending on what you have you can use either of these three tools.
- Check the user’s manual in order to see if you need to prepare the primer in any way before use. Most of these primers are ready to use as they come, but just for your own benefit, check before use.
- Use your brush or other recommended tool and carefully apply the primer all over the surface. Try to keep and even thickness of the primer throughout the entire surface of your roof. After you have finished applying the first layer of primer, wait a few minutes for it to dry off. After it dries off, wait one hour and apply another layer of metal primer and repeat the process until you have applied three layers of metal primer.
- Wait a few hours or read the manufacturer’s guide in order to decide when you can start with coating process.
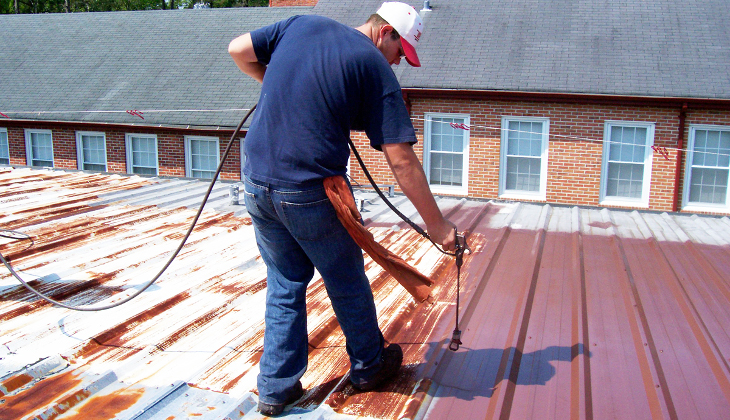
Step 5 – Apply the coating
The last and the most important phase of the job. Before you start, make sure that there aren’t any leafs or dirt on your roof. There might be some as you had to wait for a few hours for the primer to dry. Read the instructions carefully before starting to apply your coating.
Some coating brands might need some kind of preparation before use. Per example, some coating brands need to stir before applications, while others need some percentage of water. It’s also a good idea to read the manufacturer’s recommendation of tool. You don’t want to use a spray gun with a coating that’s too dense to use that way.
Applying the coating will have to go in two stages, each equally important:
Stage one – Coating the roof seams, j rail and flashing.
Before you start to coat these areas, you should use some patching cement and apply it with a thick brush so that you cover all the seams and edges of your roof. Also, use it to cover all the screws. Once the patching cement is dry, you can start coating carefully using a brush.
Roof seams connect the roof panels. It’s not uncommon that they pop out due to the wind or other influences. That’s why it’s important that you protect these areas. J rails are the most common areas for leaks, so that’s why they also need protection.
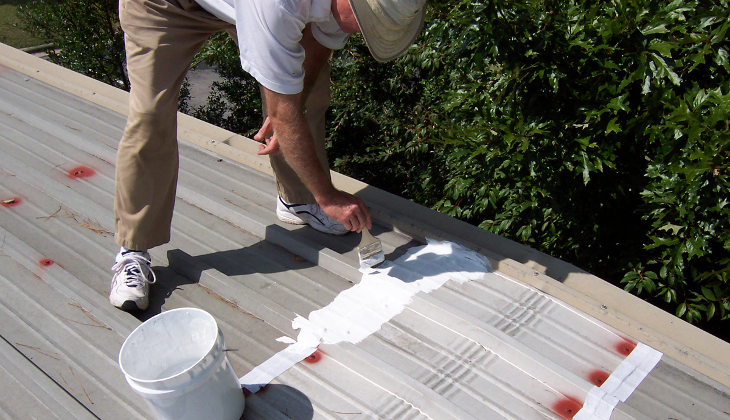
So many mobile home owners have experienced the damage caused by leaking j rails. One example is that all the leaking water can fall down the side walls of your mobile home and cause damage. And lastly, in order to prevent any damage to your flashing, apply coating on these areas also.
Flashing leads the water away, so it’s under strong influence of moisture. Coating your flashing will protect it and keep the water away from your home interior.
Apply the recommended number of layers in precise time frames. In order to check how many layers of coating you have to apply and in which time frames, check the user’s manual. Most of the coating packages hold all the information regarding the use of their coating product. Once you are done with seams, j rail and flashing, you can move to stage two.
Stage two – Coating of the roof surface
The final stage of the final step. Coating your mobile home roof is an important task and you need to handle it with care. In order to make this clear, we shall break the whole process down in a few important points.
- Check the label on the package and make sure that you see how many gallons of coating covers a certain surface. Measure the surface of your roof in order to decide how much coating material you will need to use.
- If necessary, stir or otherwise prepare the coating for use. The label on the package should have the preparation instructions.
- Use a recommended tool, such as a roof brush or spray gun, and start applying the first layer of coating. It’s important that you equally coat every part of your roof and pay attention to the amount of coating that you’re applying. You don’t want to apply a layer that’s too thick or too thin. Both will do you no good.
- In case that you need to wait for the layer to dry off and then apply a new layer, do so in recommended time. Always remember that each brand has its own preparation and application process.
- Wait for your coating to dry off.
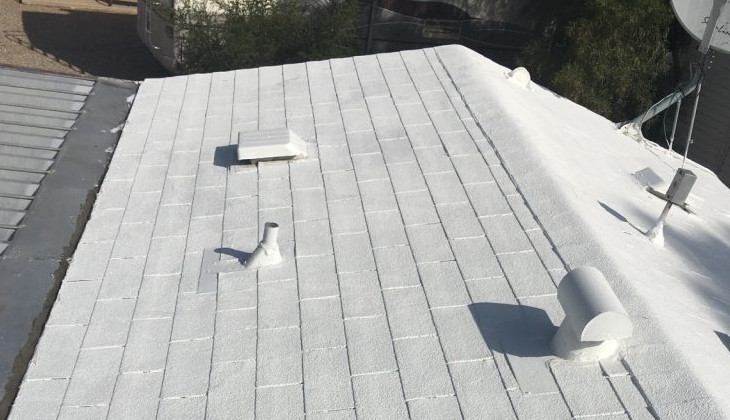
If the coating material allows it, you can apply paint and make your roof look even better.
Any questions?
We have tried to demonstrate that mobile home roof coating can be done in an easy and cost-efficient way. As each home is more than just a place to live in, it’s important that we do these simple little tasks from time to time. This will help us protect not only our house, but our home as well, because home is more than just a place to live in, it’s where we feel safe and at piece.
Do you have any experience coating your mobile home roof? What did we miss? What would you like to know more about. Please feel free to let us know any questions you have.

