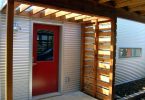
Every home could do with a good amount of energy savings. How the home is built and every adjustment made to it will either add or take away from the energy savings, and considering the tough economic times, increasing savings is highly desirable.
A mobile home may require a little more help with regard to energy savings because of the material it is made from, but this shouldn’t be a problem. One of the ways to steer energy savings in a positive direction is to use mobile home roof sealer.
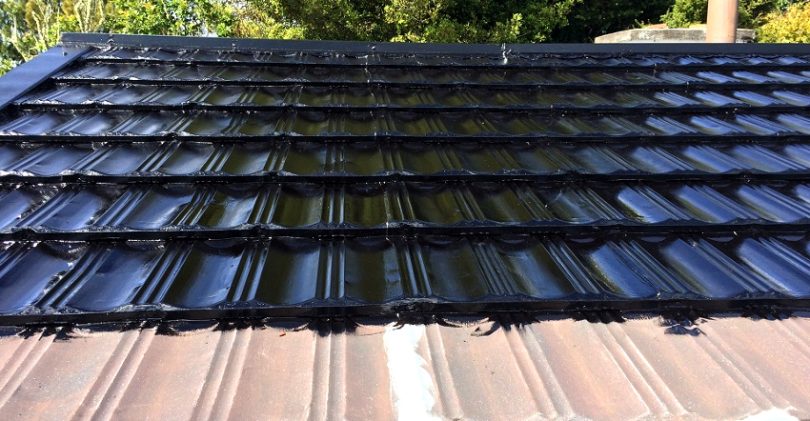
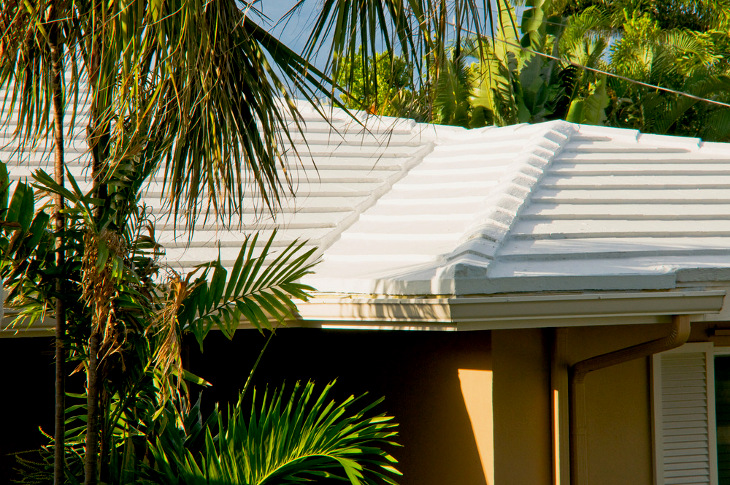
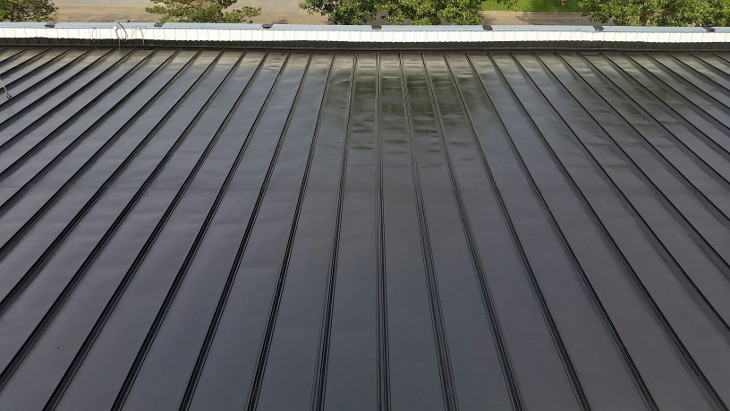
Roof sealer is a kind of paint that goes on the roof of a mobile home. Many think that the purpose of this special paint is to plug leaks, but it isn’t, although it can serve this purpose when it becomes thick and rubbery upon drying. You should actually patch up any leaks before you apply this coating. The main purpose for this coating is energy savings and having a more comfortable home.
This type of paint has a high reflectivity and emissivity. Reflectivity simply refers to the sealant’s ability to reflect the sun’s light and heat, and emissivity is the ability to emit heat from the mobile home roof. These two abilities result in a lot of savings and comfort, especially during the hot season.
Why you need to use roof sealant on your mobile home
The manufactured home roof sealer will do your mobile home roof a lot of justice and keep it in good shape for about three to four years. This rubbery layer will first and foremost insulate your roof. Insulation keeps the heat inside the mobile home from escaping. Energy costs automatically come down since much less heating is required to keep the home warm.
In light of its emissivity and reflectivity, the sealant keeps out the sun’s heat during the hot season and this reduces the need for increased air conditioning. It keeps out excess heat from outside from coming in when it’s hot outside and keeps the warm air from getting out when it’s cold outside. Temperatures remain optimal inside the mobile home regardless of the season.

This reflective coating also increases the lifespan of the roof. It does this by reducing the occurrence and effect of thermal shock (when the roof expands and contracts due to changes in temperature). Regular contraction and expansion will lead to buckling and general damage to the roof at a much faster rate if left unattended.
As mentioned earlier, roof sealer dries to form a rubber sheet on top of the roof. This sheet is waterproof and therefore keeps water from seeping through the roof. There is nothing as inviting as a warm and dry home. Even when it rains, the sound of the rain is muffled and you just hear a patter on the roof.
That means you can enjoy the sound of the rain without worrying about it keeping you awake all night. They might seem like small and insignificant pleasures to look forward to but one who has experienced the constant dripping of a leaky roof every rainy season knows it’s a great score.
When not to apply a sealant
The sealant has many advantages on your mobile home roof but it isn’t always a solution to the problems your roof might be facing. Your focus may be on the final savings on your utility bills but some issues need solving before you apply the sealant.
- In the event there is a leak. Sealers shouldn’t be used to cover leaks because they will only plug pinhole leaks. Other more noticeable larger leaks should first be identified and then sealed before applying the sealant.
- A new roof may benefit from a fresh coat of rubbery roof sealant because the sooner you get it done the sooner you can start enjoying the benefits. It could however interfere with the warranty that it came with, depending on the manufacturer. Be very careful to find out what your roof manufacturer says about voiding the warranty so that you don’t lose any extra benefits in your attempt to save money.
- On the other side of the divide, a very old roof may look like it needs a boost to help it perform better but putting a sealant on it may end up being a waste of time and money. This sealant is supposed to serve you for more than three years. What if the roof buckles in within a year? The large gallons of sealant may not be expensive but having to replace a roof that’s completely damaged and has a practically fresh coat of sealant is hard to watch and an additional cost. You would rather replace the roof.
Applying it to your roof requires a little more than just slapping a brush wet with paint on the roof. There is a preparation process involved, and if you skip any step, you may not like the results that come out of it. You will need time, patience and attention to detail for this task.
Types of sealers
Roof sealers come in different types.
Asphalt roof coating
The more common coating and traditional coating is the aluminized asphalt roof coating. It is solvent based and contains fillers, aluminum paste, asphalt, moisture scavenger and hydrocarbon solvents.
The pricing varies and is dependent on the amount of aluminum particles in the mixture, with a higher particle content costing more. Paint with higher aluminum content and pigment has a higher reflectivity.
Advantages
- It is very easy to install.
- It adheres very well to concrete and asphalt surfaces.
- The price tag is within reach.
- It offers a high reflectivity.
- It provides UV protection for the roof.
Disadvantages
- It doesn’t work well with acrylic and waterborne roof coating. This is caused by the aluminum particles since they prevent adhesion.
- Aluminized coating offers no waterproofing.
- Owing to the solvent base, it is more likely to emit an unpleasant and possibly harmful odor during application.
- It starts off reflecting about 60 percent of heat, but this reduces to less than 40 percent since dust collects on the surface.
Latex coating
The other option is bright white latex coating. It is a kind of rubber that comes in either liquid form in buckets or preformed sheets, with the liquid gaining more popularity over the years.
Officially known as EPDM or ethylene propylene diene monomer, this sealant works well for small surfaces as well as large ones. Its price will depend on the amount of solids in the mixture as well as which manufacturer it is from.
Advantages
- It reflects about 70 percent of solar heat.
- This polymer holds well on most types of roofs.
- When applied properly it creates a tight seal around the roof making it waterproof.
- Its waterproofing abilities begin action immediately it is applied, even before it dries.
- It should last 10 years if it remains undisturbed or exposed to things that could scrape it such as low-lying branches.
- It is not affected by ozone or UV light.
- It looks very attractive and smooth once it dries.
- Its integrity remains intact regardless of the temperatures.
- Using a primer isn’t necessary but will depend on the material of the roof.
Disadvantages
- Application is a little fussy. It requires a clean and dry surface for it to work well. A primer without a clean surface doesn’t cut it.
Whichever one you go for, remember that cheap is expensive in the long run and numbers don’t lie. Consider the material your roof is made of as well.
It can be very tempting to see sealant application as an unnecessary tedious task because depending on the size of the roof, application can take about two to three hours. Look at the bigger picture here for a second. The roof will last much longer even with the changes in weather throughout the year.
That rain beating on the roof will not leave you drenched in your bed, and the heat won’t bake you alive during the hotter months. You will also get to keep your home in good shape for longer and, if nothing else, that should give you a major confidence boost. Convinced that you need some sealing on your roof? Let’s get to it then.
Things you need to consider before starting this procedure
Before you begin work on your roof, you need to know a few things. These will guide you as you work and generally keep you safe if you adhere to them. You will be working with tools after all and these aren’t things you can reason with.
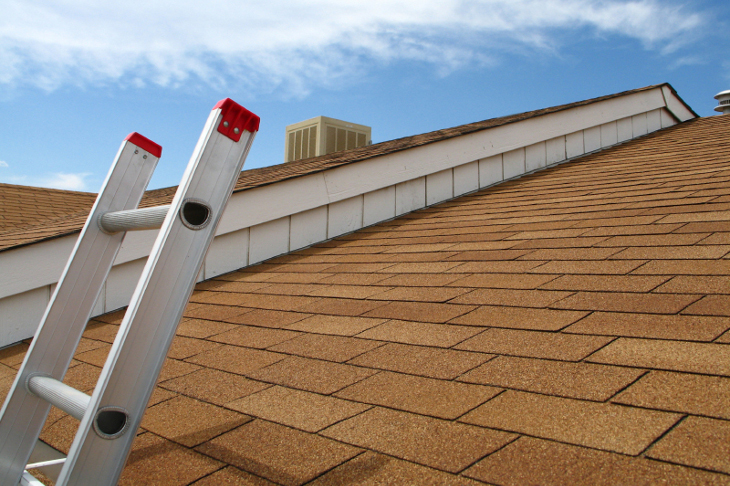
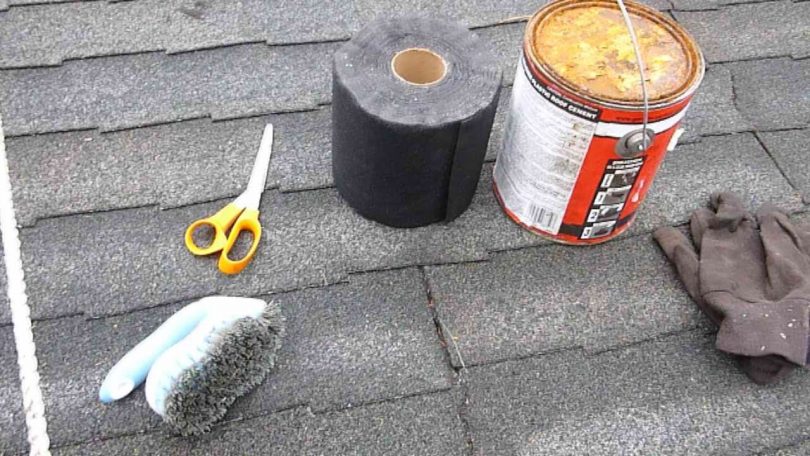
- Gather all the tools you need in advance. Put together a small kit containing paint, paint brushes or rollers, a broom, a brush, a putty knife, a screwdriver, gloves, roof coating, roof patch, ladder, knee and elbow pads and screws.
- It would be much wiser if you had someone with you on the day you carry out this task. This makes it easier to keep each other safe because one can call for help in the event that the other gets hurt.
- As much as possible, keep trips up and down the ladder to a minimum. Carry as much as you safely can up with you. Let your friend bring up the rest. Chances of slipping off the ladder or worse, falling off the roof, are much fewer with fewer trips down the ladder.
- Take note of the weather. The sealant should go on when the temperatures are warm. It is best to do it when it is about 60°F or above. Do it on a dry day too because rain beating down on a fresh coat of sealer undoes all the work you put in the roof. You are better off starting early in the day so as to give it enough time to dry by evening.
- Be careful not to carry out this task when the sun is really high and hot because that could you leave you exposed to other dangers like feeling dizzy and sunburn. Wear sun block, a hat, a long-sleeved shirt and trousers instead of shorts.
- Be aware of your surroundings. Step on the ground or roof as you look at where you are stepping on, get down the ladder carefully and do everything carefully. This is the best way to avoid injuries and accidents.
Put these into action and you will be much safer on this task.
Important preparations before applying sealer
You are ready to begin working on the roof now but will need to prepare the roof for the mobile home roof sealant. Gather your tools and make your way to the roof. Remember the safety precautions above. Once on the roof:
- Sweep every dirt and debris you find on the roof. You can use a brush after the broom just to make sure you get everything.
- Assess the roof for any damage or wear. Look for leaks or holes that will need patching. You might assume that you have no holes because you haven’t felt a leak, but that isn’t always true. Check for cracked seams, blisters and maybe even the previous coating peeling. Fill any holes with roof patch and cut through those blisters. We’ll discuss exactly how to do this later on in the article.
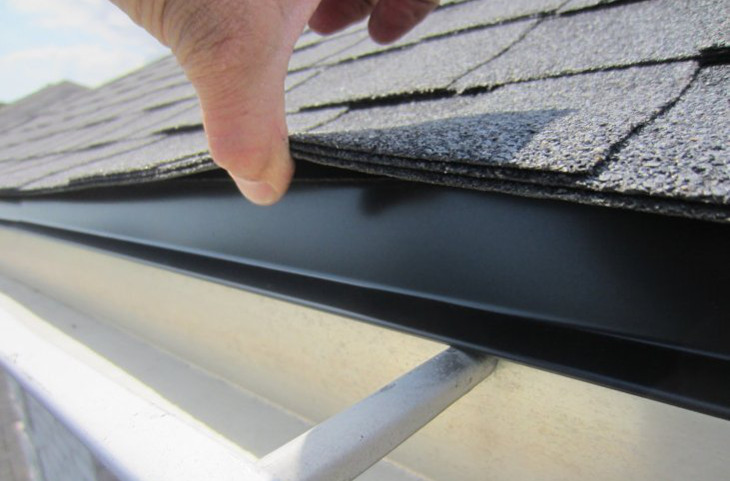
- Using the putty knife, remove any peeling or flaking coating. You can also sand it down using coarse sandpaper or remove it using a wire brush. Don’t forget to look at the j-rail, flashing and roof seams. The j-rail goes around your roof and is where the water runs. A leak here will seep into the sidewall and run down, causing a lot of damage. It is also susceptible to wear and tear due to the water. Roof seams connect roof panels and can easily get undone from heavy ice and snow or the strength of the wind. Flashing will be present where there is a roof vent, skylight or stack and it connects these to the roof.
- If using the white latex coating, you will need to be extra careful with the cleaning process. You will even need to wash the roof with some mild detergent. Once washed, check if any puddles form. If there are any, look for the source of the puddles because it could be clogged gutters or some buckling in the roof. Cover any areas with metal deterioration using metal primer. Let the roof dry completely and then seal any holes.
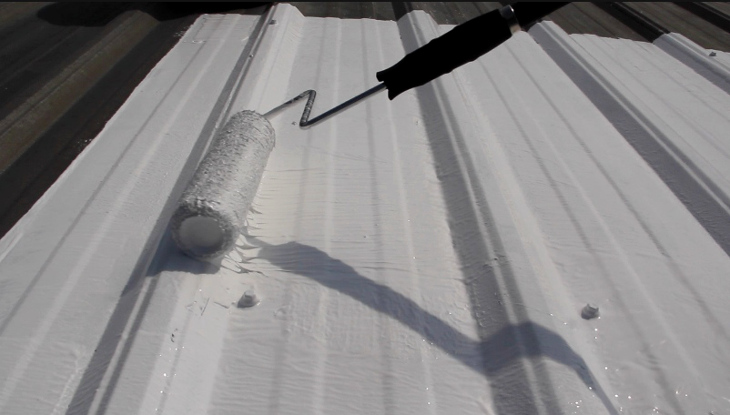
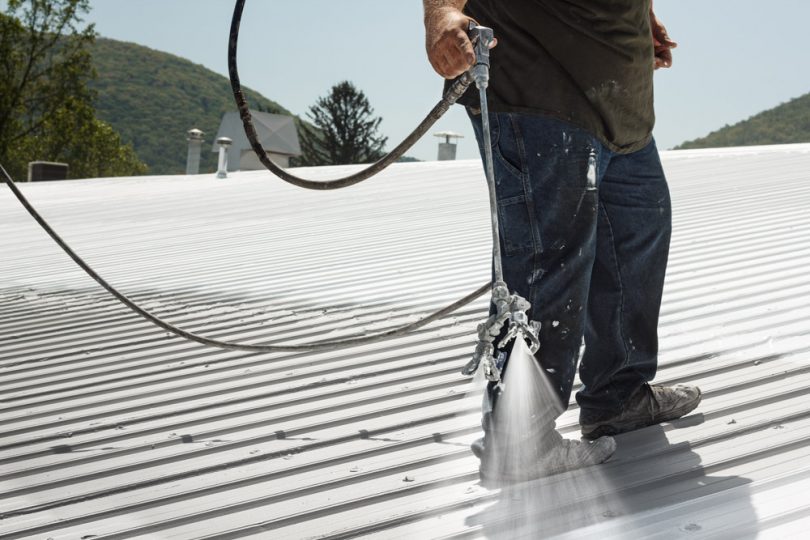
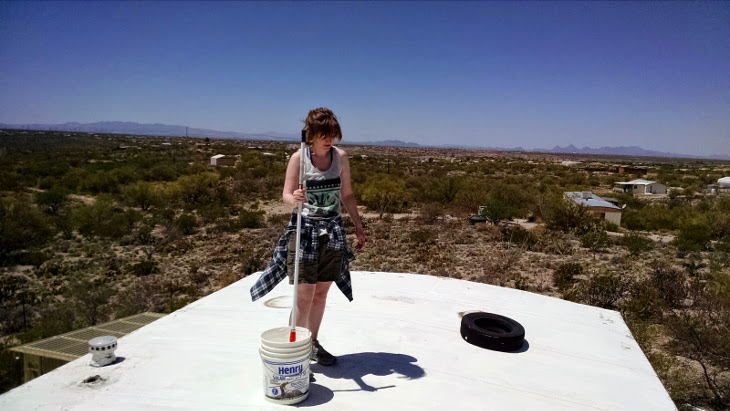
- Once the patches are dry, you are ready for the coating. Apply the coating using a brush or roller, making sure the roof has no debris before doing so. One gallon of the sealer covers about 50 square feet of the mobile home roof, and it is advised that you do two coats. Do the first coat, let it dry and then do the second. Once the second coat dries properly, it will form a rubbery layer over the roof. Don’t apply it in thick layers because it will crack when it dries. Use the quantities above to get the right thickness.
This means that you should actually measure out a 10 by 10 patch on the roof and use one gallon to paint it. That makes the first coat and gives you the right thickness.
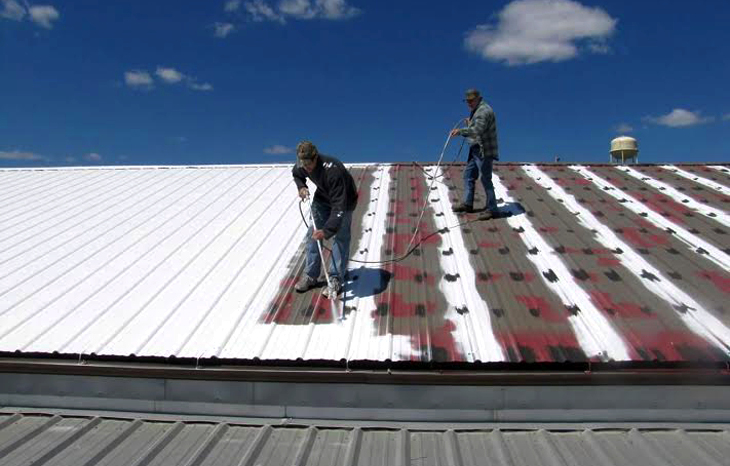
Use the same measurements all through until you get to the last patch. You might find a roller more useful for this because it keeps you from treading on already done areas.
- You can throw some water over the roof to confirm if all leaks were sealed. If satisfied with the result this is a great time to add a layer of paint over the sealant.
Your roof is now completely done and you can now start enjoying your non-leaking, energy saving home.
How to identify a leak in your mobile home
All the benefits that a mobile home roof sealer can bring can be quickly cancelled out if your roof has a leak. This is one of the most important steps in preparation and knowing how to identify a leak will save you lots of time and effort down the road.
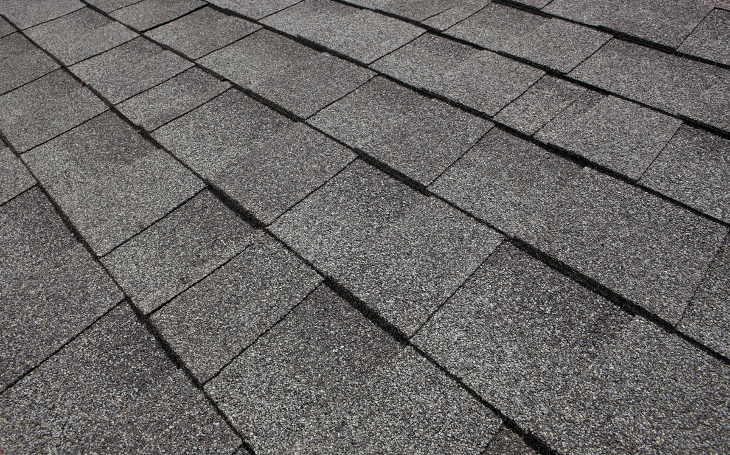
Mobile homes usually come with different kinds of roofs depending on when they were made. These are flat and covered with metal or asphalt and the second type is covered with shingles and is known as a peaked or pitched roof. Both have different repair methods and it is best to find out the appropriate one for your type of roof.
Signs that your mobile home roof is leaking
More often than not your home will show signs of a leak. You just have to know what to look for.
- Peeling paint or wallpaper
- Dark spots on the walls or ceiling. These will look brown or grey but mostly grey.
- Sagging or bowing on the walls, siding, ceiling or gutters.
- Light passing through cracks. This is an obvious one because you shouldn’t be able to see light from outside a room unless through an open door or window or through the window itself.
Finding the actual location of the leak
It takes a little digging to get to the bottom of a leak. There are two types of roofs for mobile homes and they have different structures. Finding leaks on both will therefore require different methods.
Finding the leak on a flat mobile home roof
For a roof with a rubber or membrane roof you should look for blisters, cracks, tears and separation at the seams. Take a closer look at plumbing stacks and chimneys because issues are very common around these areas.
Finding the leak on a shingled roof
Since the surface isn’t flat, the leak will take the path that is easiest for it to flow. Imagine a leak occurring at a certain spot and then the water flowing several feet down to finally begin dripping onto that piece of furniture you love dearly.
When you have a leak on this type of roof here is what you should look for:
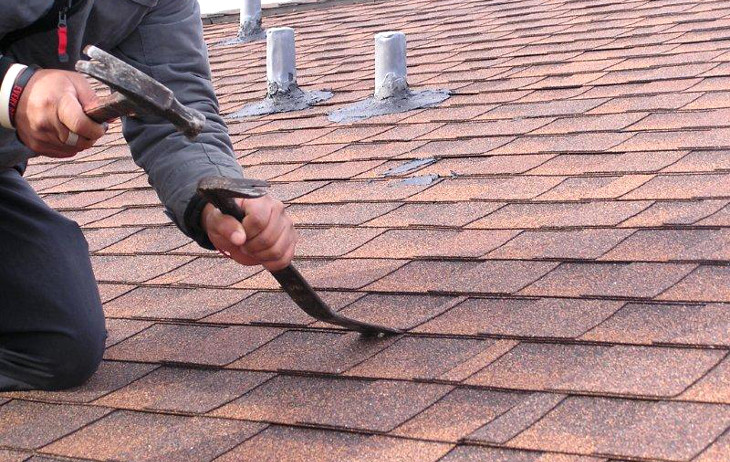
Damaged, loose or missing shingles
These will easily show themselves when you take a closer look. You can check how good your shingles are with a little bend. Look for the side that receives the most sun and bend the corners of one or two shingles on that side. If they look gray, bloated and break instead of bend you will know you need to replace them soon.
Shingles can develop holes from accidents involving sharp objects or even leftover mounting holes. They may look small but the amount of water that goes into them is quite substantial.
Flashing
These are the metal strips that lie around the vents, chimney and skylights. They should be intact as opposed to torn or buckled.
Rubber boots
This is the boot that sits around the ventilation pipes. It can crack or get damaged in any other way, causing a leak into the home.
Vent leaks and cracks
Plastic roof vents will develop leaks and cracks at some point. Replacing it is better than holding it together with duct tape.
Check for leaky roofs twice a year and every time after a storm. This should help you catch them in good time before it spreads too far or causes a lot of damage.
Look on the bright side of high emissivity coating
Fixing and preventing leaks, applying the roof sealer, and general maintenance, all contribute towards a more energy-efficient mobile home. Regular maintenance is advised so that you make the most of the money you spent on the home. The long term benefits outweigh any nuisance or inconvenience you might feel when doing it.
Think of the new level of comfort in your home and savings in actual cash that you will experience with these changes. That should get you smiling and pumped up for the job.
Remember to choose your sealant wisely because in the long run, you will enjoy the benefits and they will be worthwhile.