

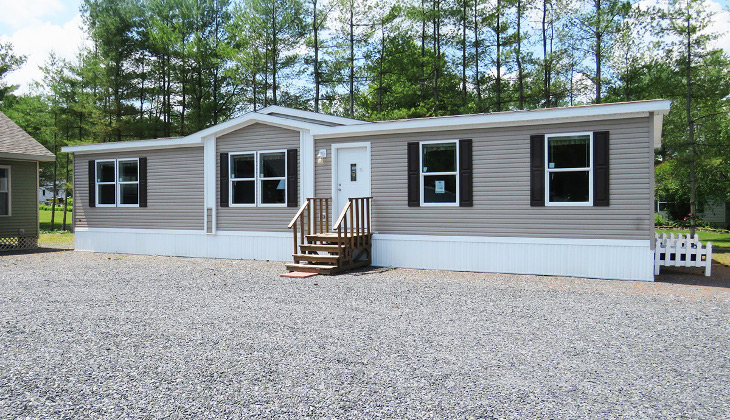
Over the years, every home settles. It doesn’t matter how you built it, what type of home it is or what kind of land it’s on, it will happen. Depending on the strength of your foundations and the overall building quality, some homes don’t get damaged too much, and you can’t feel it settling.
On the other hand, mobile homes are significantly more susceptible to settling and suffer the greatest damage during the process. Occasional squeaks and moans are just the mildest results of this occurrence. The more severe indicators are those that you can notice on your kitchen elements, tables and other pieces of furniture.

Inability to close your cabinet doors, rocking chairs and tables and cracks on your walls are all signs that it’s time for you to level your home. Mobile home leveling is not a complicated process, and you can do it yourself in most cases with a few tools and some help. To help you in case you want to make this your next “diy” project, we’ve outlined the process you will need to follow.
Why it’s important to level your mobile home
Aging is a process that’s not related only to living beings. Objects also age and deteriorate in time. As we take care of ourselves, our pets and plants, we need to take care of our clothes, cars and homes. Some people wait until their home gets damaged and then pay for expensive repairs or rebuilding, which is a totally wrong strategy.
With proper maintenance you can save a lot of money and extend the use of anything you own. When it comes to property, your home is the most precious thing you can own.
It’s not only a place to live; it also holds your memories and all the other things you possess. Because of this, you should always do anything you can in order to keep your family safe and leveling your home will go a long ways towards doing this.
Maintenance includes regular painting and coating, repairing minor damages, refurbishing and most importantly, leveling. There are several reasons why this is such an important part of your home maintenance. Here’s a list of the major ones.
- If you wait too long, your home will start to lean, which can cause damage to your furniture and walls. Your windows and doors will start to suffer more stress and eventually break.
- Your floor will also suffer a lot of damage. After the occasional squeaks, you will start to notice that your floor is uneven. Worst case scenario is that your pillars might break through the floor and potentially harm you, or cause major damage to your home
- Your cabinets will not be able to close properly, which could lead to broken dishes and eventually someone being hurt.
- Your plumbing and electrical installations could suffer damage, which could lead to unimaginable problems and headaches.
In order to avoid these problems, it’s important to learn how to level a mobile home properly.
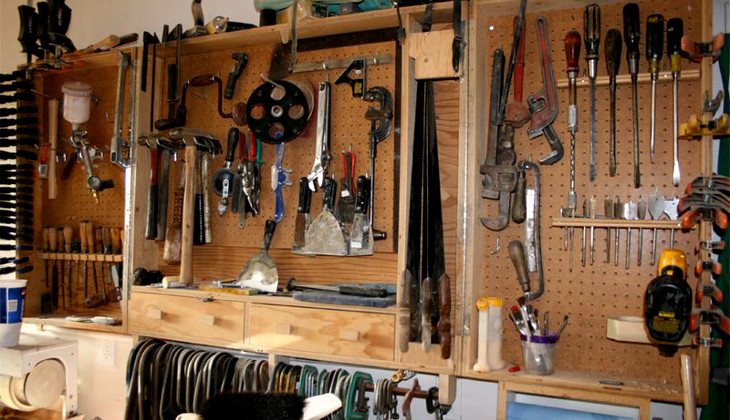
Tools required for the job
You can’t do a proper job without proper tools. Most of you have all these things somewhere in your garage or you can borrow them from your neighbors. So, let’s see what we need in order to get the job done.
- A mobile jack – most mobile homes have this. If you don’t have it and you are a mobile home owner, you should get one because you are going to need it at some point. You will use the jack in order to lift your home at those places that need to be leveled.
- A six foot level – Also a tool you could find in any better equipped hardware store, you will need it to check which parts of your home need adjustments.
- Shims – These are essential for the process, so it’s important to have a couple of them, depending on the amount of pillars that need to be adjusted. Shims are small pieces of wood that you use to level your home by placing them between the beam and pillar. They come in various shapes and sizes, so ask before you buy to make sure you are getting the right one for your home.
- Flashlight – You need this in case you need to crawl down under your home to make adjustments.
- Protective eye wear, hard hat and work gloves – Safety is important, so make sure that you keep yourself protected at all times. Make sure that anyone that helps you in this process is protected, too.
- Hammer – No job can get done right without a hammer. You need a hammer in order to secure the shims once you place them.
- Block of wood – You will need a block of wood just to secure your mobile jack. It’s not an essential piece of equipment, but it wouldn’t hurt having it around.
- Chalk – You need to mark those pillars that need to be leveled. In order to do that, chalk is the most practical tool you could use. Markers and pens also work well.
And that’s all the tools you need on order to level your mobile home. You should also have someone assist you in this endeavor, so call a friend or a neighbor to lend you a hand.
Take care of yourself and don’t be hasty. Do everything slowly and move to the next step only if you’re sure that it’s safe to move on.
Mobile home leveling step-by-step
Let’s take a look at the individual steps in this process so you can get a feel for whether it is something you can tackle on your own or not.
Step 1 – Safety first
Make sure that you have your protective equipment on. Put on your protective glasses, hard hat and work gloves. Also, make sure that anyone who’s assisting you is protected too. Do not remove your safety equipment at any time during this process.
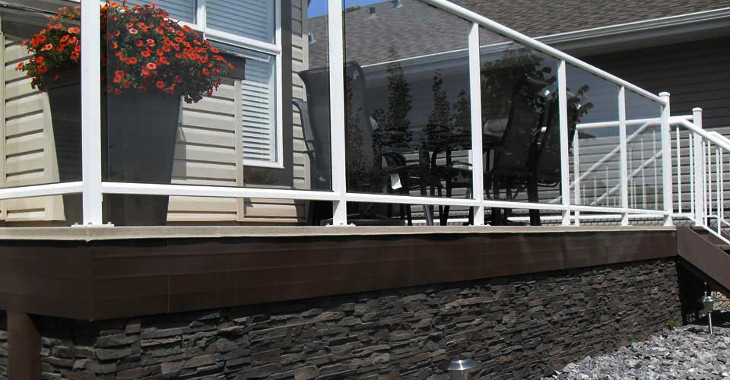
Step 2 – Remove skirting
In case you’re mobile home has skirting, you need to remove it in order to reach the pillars of your mobile home. Safely and slowly remove the skirting and place it somewhere out of reach. This will allow you to reach the beams and pillars and level your home.
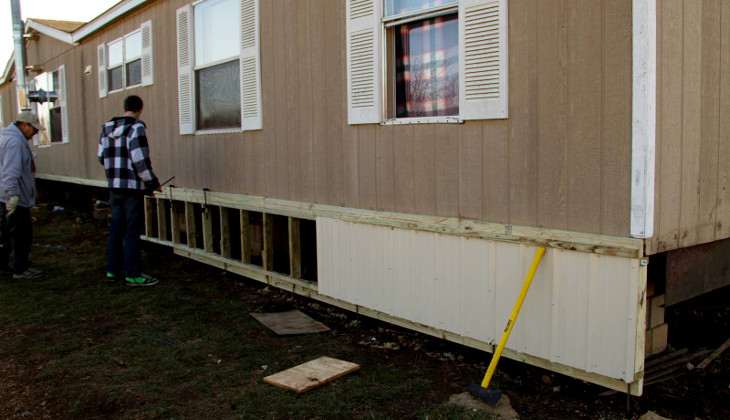
Also, placing the skirting somewhere out of reach will give you space to maneuver without distraction. Once you remove the skirting, it’s time for the next step.
Step 3—Prepare plumbing and installations
Leveling your home can do some damage to plumbing and electrical installations. In order to avoid any damage to your installations, it’s a good idea to take a few precautions.
Before even starting to raise your home in order to level it, check for the contact points of your plumbing and the beam. Make sure that your plumbing doesn’t get affected by the raising of the beam by securing your pipes to the base of your home.
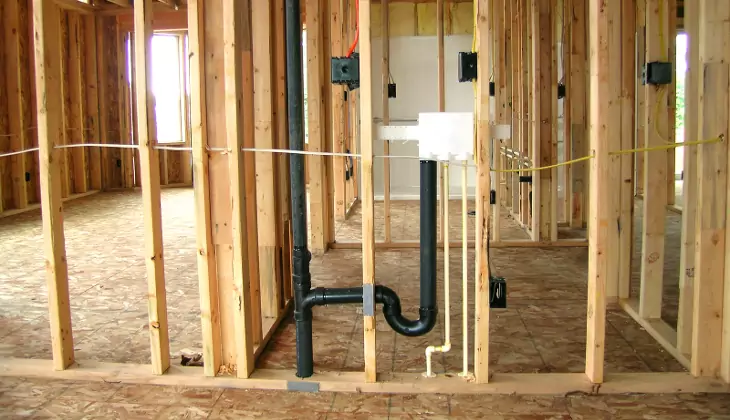
Also check your electrical installations to see that there are no wires wrapped around the beam or tangled between them. If there are any wrapped or tangled wires, make sure that you secure them by unwrapping and untangling them. Keep all your installations attached to the base of your home at a safe distance from the beam and the plumbing.
Step 4 – Check your home leveling
This is the deductive phase of the process. In this step you will need to check which of the pillars needs to be adjusted. In order to do that you will need to use your six foot level, chalk and possibly your flash light. You will need to move from pillar to pillar so be cautious and move very slowly.
Start at the center of your house, place the level against the beam near the pillar and see if the bubble is leaning to a side. If the bubble is centered, then you don’t need to place a shim under the beam and you can move to the next area. Make sure that you check all the pillars and that you mark each one that needs to be adjusted.
When you finish checking all the pillars, and you have marked the ones that need to be leveled, you can move to the next phase.
Step 5 – Raise the beam
In case your home needs some leveling, you will need to raise the beam in order to place shims between the beam and the supporting pillar. For this task you will need to use your jack and the six foot level. This is a dangerous process so be very careful and don’t rush.

Place a piece of wood under the jack in order to keep it stable. Place your six-foot level against the beam in order to keep track of it. In order to level your home properly you need to raise the beam very gently and slowly and watch the position of the bubble on your level tool. Once the beam is level, you will stop raising it and secure the jack. Now you’re ready for the next step of the process.
Step 6 – Place shims in order to level your home
With the beam at a proper level, and the jack holding the beam secured, you are ready to place a shim between the beam and the supporting pillar. Ask your assistant to hand you a shim and place it carefully.
In case you need to secure the shim, ask your assistant for a hammer. Take the hammer and secure the shim until you are sure that it fits and that it’s in a locked position.
Step 7 – Check your work
After you have placed a shim under the beam that needed to be leveled, it’s time to check if your home is level. Move to the center of your home and place your six foot level next to your beam and watch the position of the bubble. Do this again close to other supporting pillars in order to make sure that you’ve done a good job.
If the bubble stands at the center in all the areas of the home, this means that your home is level and you did a good job. Now it’s time for the last step.
Step 8 – Check your plumbing and installations
If you did Step 3 well, this shouldn’t be an issue, but it is still a good idea to check to make sure you’ve completed this process without doing any damage to other parts of the home. If you do notice something wrong and you don’t think that you are able to fix it, call a professional as these things are sensitive and repairs can get expensive quickly.
Step 9 – Reattach the skirting
At last, your work is done, now all that’s left to do is patch everything up. Carefully place your skirting around your house and secure it.
Take a look around to make sure you’ve put everything back and that’s it. Your mobile home is now level.
Some tips and tricks
- If you place your home on a hard piece of land or a concrete surface, this process will take longer.
- Keeping the land under your home dry will keep your home leveled longer. Obviously rain is unavoidable, but try to avoid wetting the ground around your house.
- Before you even start leveling your home, it’s not a bad idea to secure your furniture. Take all the furniture you can out of your home and protect it against the dirt with some sheets and blankets. Return everything in place once the job is done
- Make sure that you have someone to assist you. This is not an easy job and having someone nearby will be extremely helpful.
- Leveling your home can cost you anything from $0 to $500, depending on your skills, the tools you already own and any damage your home has already suffered
- Strong pillars can make your house more secure and keep it leveled for a long period of time. You should avoid pillars made of wood.
- Squeaks and moans are the first signs that say your home needs to be leveled. Don’t wait too long after you notice these signals.
- Check your jack before you decide to use it. Make sure that the oil level is ok and that it works properly. You could harm yourself in case of a malfunction.
Conclusion
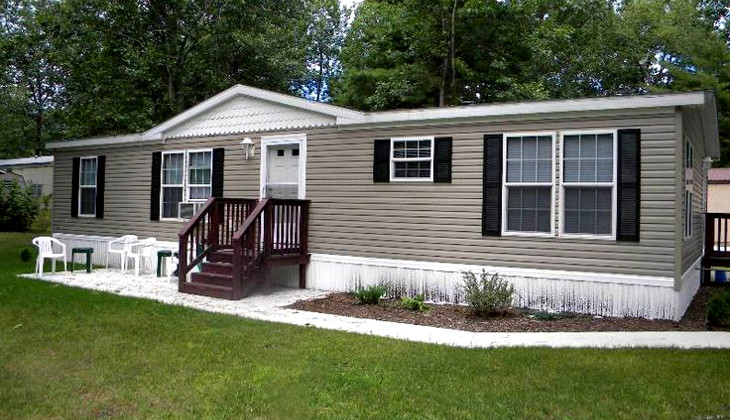
Mobile homes are often used as a temporary place to live, but increased quality and stricter standards means mobile homes are becoming attractive permanent housing options. No matter what, regular maintenance is essential.

We hope that this article has shown you how easy and cost effective it is to level your mobile home. Even if you don’t own a mobile home yet, it’s good to be acquainted with this process so you know what to expect should you purchase one. All in all, hopefully you have seen that mobile home leveling is a simple, easy and important task that every mobile home owner needs to perform.
Have you ever taken part in leveling a mobile home before? What did we miss? Anything you would like to know that we didn’t cover?
Let us know in the comments section so we can share and all get a better understanding of this process.