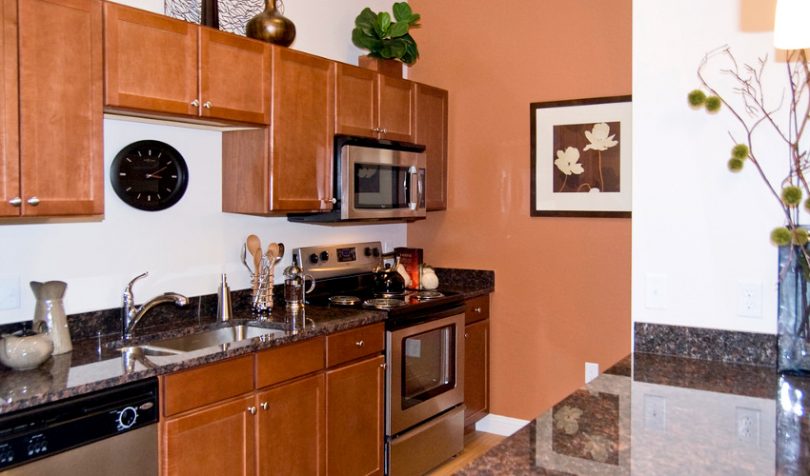
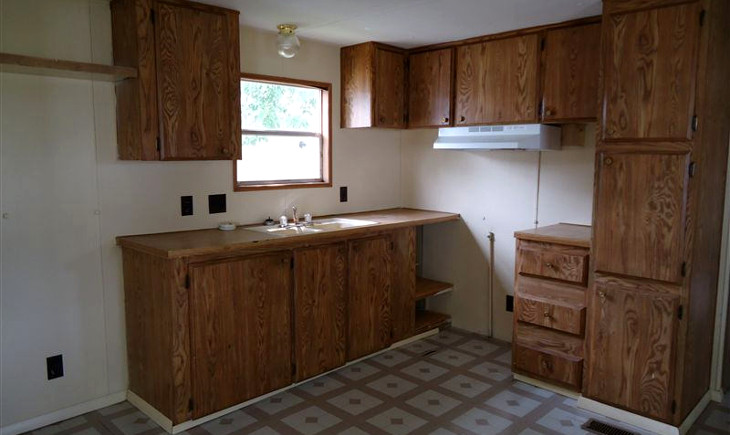
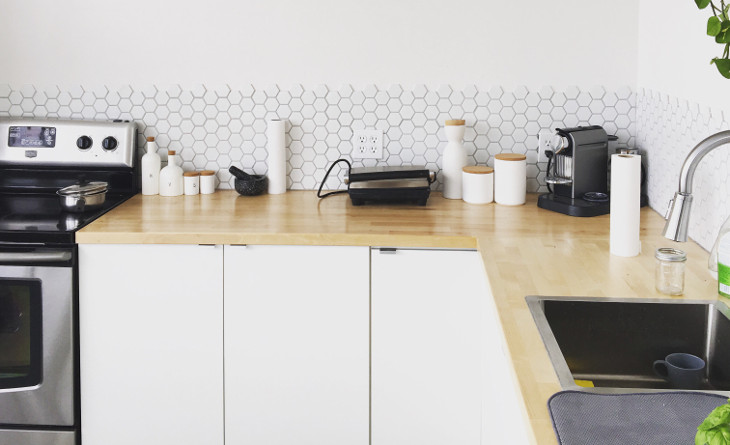
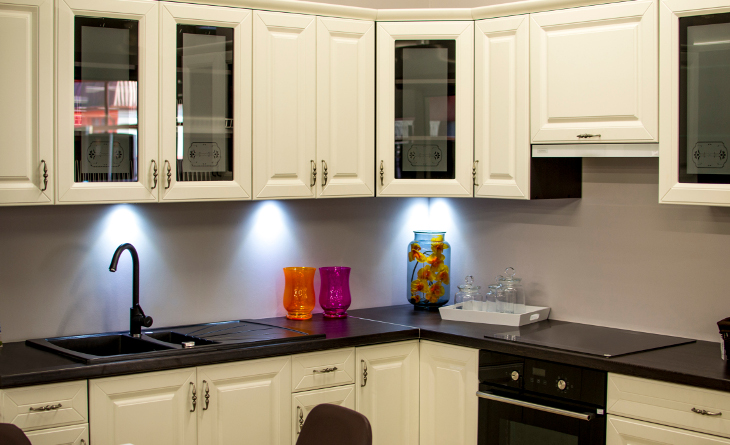
If you live in a mobile home, then it is possible that you live with limited financial funds or are saving up for future needs. This also means that you probably do not want to spend a lot of money on renovating or even remodeling the kitchen or other rooms in the home.
Painting mobile home cabinets are on one of the easiest ways to get a fresh look on an old room.
As we have mentioned in a previous article, paint is the best friend to decoration and remodeling. You can paint the cabinets in your kitchen or bedroom to get an updated look at a fraction of the cost of replacement.
Read on and we will go into a detailed explanation on how you can do this task yourself and get a cool new look on your old mobile home cabinets.
Discover what lies beneath the veneer
In order to paint them properly, you need to know what material they are made from. Most of the cabinets in mobile homes are made from particle board or laminate board, and in some cases plywood, but very rarely these are made from real wood.
Depending on the basic material from which the cabinets are built, there are different approaches that you have to take in order to get the desired finished result.
Choosing the right paint for the job
The kitchen cabinets usually take a lot of use and are exposed to all kinds of influences like heat and moisture. The cabinets in a kids room take even more abuse and constant wear. The cabinets in a bathroom are exposed to humidity.
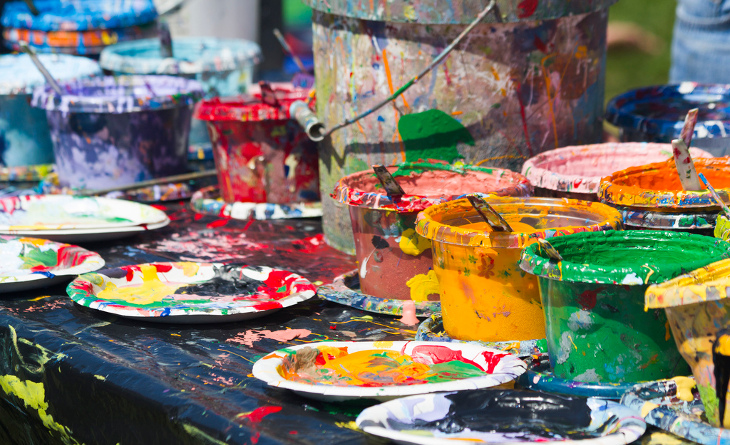
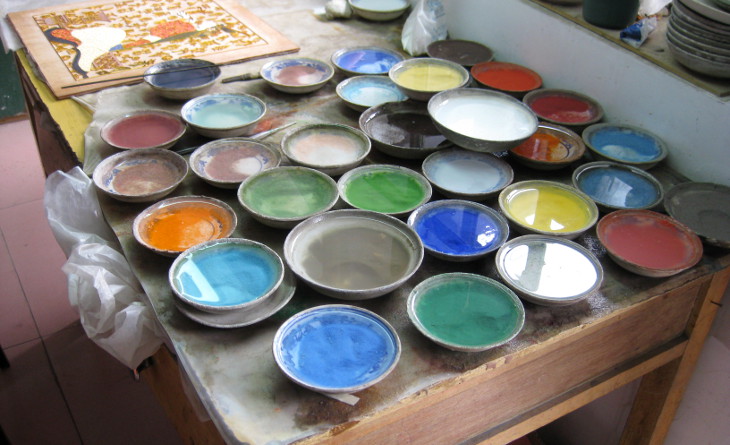
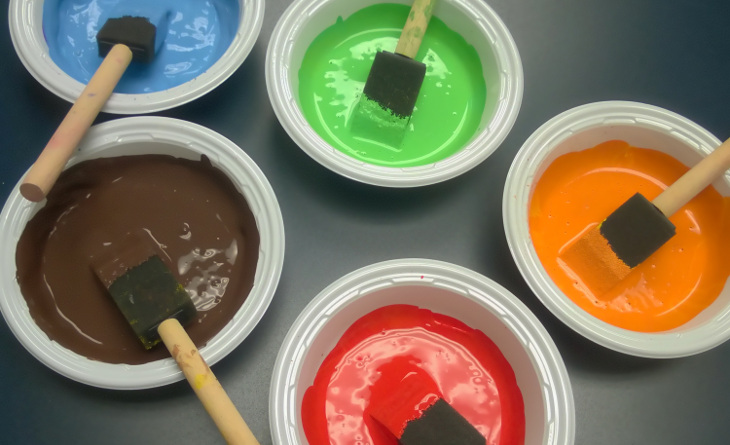
Today there are many available options for paints, all with different bases. There are water-based paints, polyurethane, acrylic, latex and oil based enamel paints. All of these come in various colors and shades.
And depending on the frequency of use and material from which the cabinets are built, you can choose the appropriate paint for the application.
Recommended types of paints
Oil – Based Enamel Paint
The best choice when it comes to kitchen cabinets. The oil – based enamel paint is very durable and extremely resilient to all types of use and abuse. It is waterproof and adheres to almost all surfaces.
There is no need for major sanding of the surfaces, and most oil – based paints do not require the application of a base coat – you can just clean the surface and paint over.
It can be applied with a brush or a roller and has to be left to dry a significant amount of time, as it uses oil – based thinner that evaporates more slowly – about 8 hours for a layer to be dry enough to use; there is a distinct smell of the VOC’s in this kind of paint, and these vapors are very harmful when inhaled.
The downside of oil – based paint is that is yellows over age, especially in dark areas. That means that after time, the inside of the cabinets painted with oil – based paint will turn a little yellowish.
Another downside is the difficult cleanup of oil – based paints. It is water – repellant and you must use oil based paint thinner for cleaning any spills and cleaning the brushes.
Water based paints
Gaining popularity as they use water for thinning and clean up. These are available in many options and offer a good, durable surface finish.
They are easy to work with and the drying time of the water based paint is significantly shorter than oil – based enamel paints, or about four hours per layer. They contain far less VOCs than other types of paints and do not have any hard odors.
Polyurethane Based Paints
another decent choice for refinishing cabinets. The use of a polyurethane paint is a bit more complex as it requires a lot of surface preparation. This can also be applied by brush or a roller.
They dry fairly quickly – a layer is dry enough in about two hours, the clean up is a bit messy as it requires the use polyurethane solvent. They also contain a lot of VOCs and have a very distinct smell and harmful vapors.

Latex Paint
this is a good choice for refinishing of interior or exterior of homes, but is not recommended for painting surfaces that are prone to a lot of rough use like kitchen or bathroom cabinets.

Acrylic Paint
usually comes in spray cans, and the application is fairly straightforward – shake, point and spray. There is, however, the issue with durability, as this paint is not very durable unless protected by a topcoat, usually oil – based lacquer.

If your cabinets are made from particle board, laminate or plywood, then the best choice for painting them would be to use oil – based enamel paint. Even if it is harder to work with than other options out there, there is no comparison to the quality and durability of the finish.
Still, to protect yourself and your family against VOC vapors, if possible, the cabinets should be painted outside of the home, or take appropriate care and have enough ventilation if you must do this inside the home. For cabinets in other parts of your home, you can use other types of paint, especially water based paints to protect against VOCs.
Preparation of the surfaces for painting
First, you need to take down the doors from the cabinets. You can do this with a screwdriver by hand or use a power drill. Carefully take down all the doors of the cabinets you plan on refinishing and remove all the hardware like hinges and handles.
If the shelves are removable then take those out as well. If the whole cabinet bodies are easy to remove, you can take them out also, to prevent fumes from the paint seeping into other surfaces and getting inhaled by the occupants.
Even though you will be tempted to skip preparations, remember that the end result is directly dependant on the preparation process. Carefully make every step to the best of your abilities to get a nice final result.
The next step is to thoroughly clean the doors from all the accumulated dirt. The kitchen cabinet doors usually have grease film on them, so make sure you use a proper cleaning solution like 50/50 ammonia and water and then wipe them down with a damp cloth and mineral spirits to leave them very clean.
At this stage, you should look at all the surfaces and make sure there are no major damaged areas. If there are small damages to the particle board, you can get a putty filler and make minor repairs to dents, small holes, and other cosmetic issues. If there are major damages to structural areas, then you should consider fixing them at this step.
After fixing the dents and other issues, the next step is sanding the cabinets. Since this is mostly a DIY project, you probably do not own professional sanding equipment, so you will have to sand them by hand.
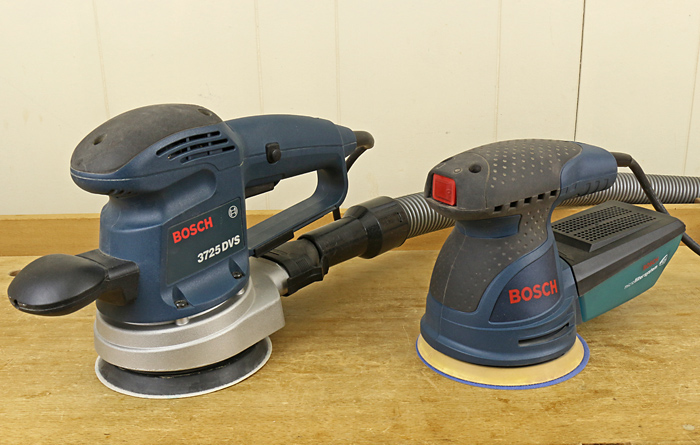
Use light sanding paper in 220 – 400 grit, just so you roughen the surface a little bit to give it a better grip for the paint to stick to and correct any problematic areas. You should also sand over the putty/filler you have added and have it blend with the surrounding area.
After sanding the cabinets, wipe them down with a damp rag to remove all the dust created by the sanding. Again, check all the areas you will be painting just to be sure you haven’t missed anything and then safely continue to the next phase of your project.
Start painting your cabinets
The next step is applying the primer coat. In order for any paint to look good, an adequate base or primer coat should be applied. This primer coat depends on the type of paint you want to use.
The base coat will cover over the old paint on the cabinets and will help with the adhesion of the top coat of paint. The base coat should usually be applied in one or two coats, depending on the manufacturer’s instructions, and should be allowed enough time to dry between coat – again follow the manufacturer’s recommendations.
Again, as this is a DIY project, you probably do not own proper painting equipment so you will have to work with a paint roller or paint brush. If you work with a roller make sure to use the appropriate for the paint you are using.
A foam roller should be used with water based paint, a short bristle roller with solvent based paints for small flat surfaces. If you use a brush, then choose a natural bristle brush for solvent based paints, or you can choose a combo brush with natural and synthetic bristle for all types of paints.
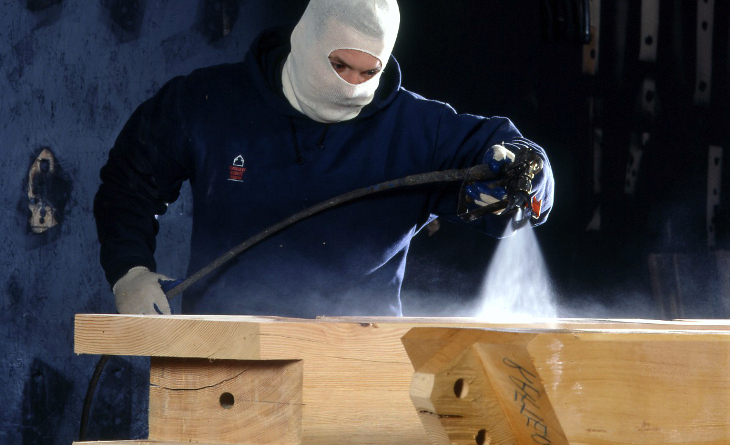
As paints tend to settle in the cans, after opening the can mix the paint inside thoroughly and make sure the paint is thinned to the correct percentage stated by the manufacturer. Place the piece on a stable surface in a place with enough air circulation to minimize inhalation of fumes.
If possible set a workplace outside, or in a garage. If you have to work inside the home, make sure you open the windows to have enough air flow.
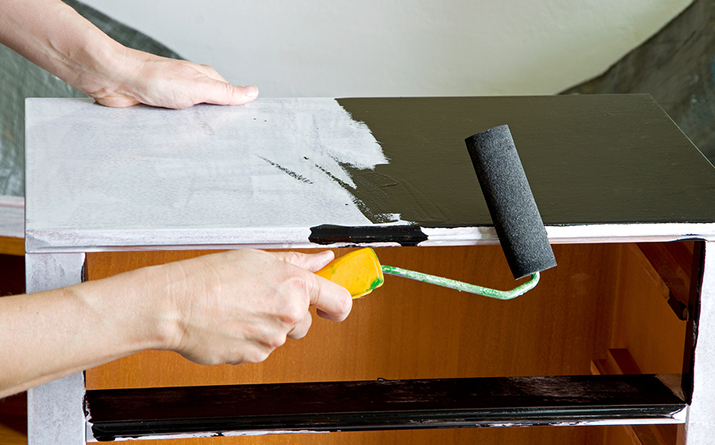
- Advice for painting with a brush: The brush should be dipped to hold enough paint, but it should not drip from it. Use long brush strokes to spread the paint evenly and avoid large overlap. If you miss anything on the first coat, do not go back and repair it as the paint will start to set up and you will only mess up the finish. Be patient and wait and you will easily repair any missed spots with the second coat.
- Advice for painting with a roller: Dip the roller in the paint, it should hold enough paint but not over do it as it will drip. Use long measured movements from one edge to the other as fast movements will cause bubbles to form and leave a wavy finish, and be careful not to have overlap.
After you have applied the first coat, wait for the proper amount of time as instructed on the can, usually 24 hours. Then lightly sand the first layer and apply the second layer of paint. Again, wait for the paint to be completely dry before installing the cabinets back in its place.
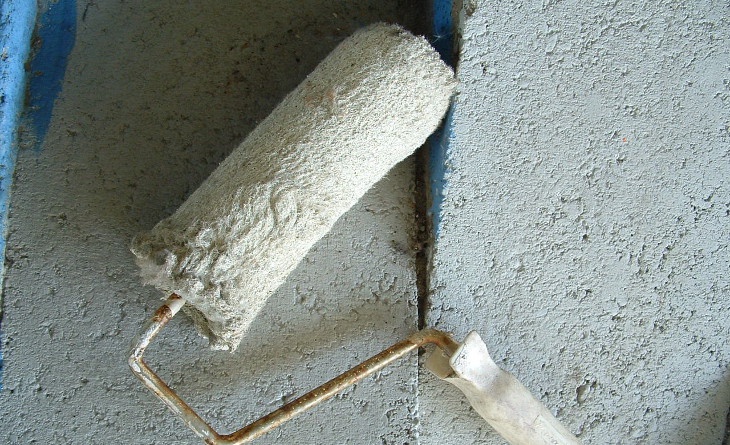
Painting the kitchen counter
The kitchen counter is probably the surface that gets the most abuse. This surface needs to have a good, quality paint over it to protect it and still look good. The best choice for this application is the use of oil – based enamel paint.
Or you can even use faux – stone paint to emulate the look of marble, and paint over it with a few layers of oil – based lacquer. Given proper preparation and enough time to dry, the kitchen counter will look as good as new, and be in style with your newly painted kitchen.
To finish up
After you have chosen your paint, done the appropriate preparations and painted everything, you should allow enough time for the paint to dry. After it is completely dry, carefully put all the hardware back: hinges and handles. Install every piece in its proper place, tidy up and enjoy your newly painted cabinets.
Has anyone tried to paint mobile home cabinets? Tell us your thoughts and experiences in the comments section below.