Container homes have become very popular lately. It’s easy to see why; they’re modular, eco-friendly and very inexpensive. You could buy a prefab container home, but you’re not going to be able to personalize very much and they’re incredibly expensive. A DIY container home is less expensive and ensures that the home you get is precisely the home that you wanted!
Building a container home by yourself is not the complicated project it sounds like. By reading this article and taking the process step by step, you can easily get it done. When you finish, you’ll be ready to build the home of your dreams, exactly the way you want it!
First Step: Research
The first thing you’ve got to do is research the area you want to put your home. Container homes are a new concept, and a lot of areas don’t have rules that expressly permit you to build with them. Worse, some areas won’t let you use them at all.
So, you’ve picked out the city or town where you’re going to build your dream house, you’ve even got your eye on a lot. Great! Your next step is… more research! Once you’ve picked the area where you’ll place your home, you need to ensure that the utilities you desire are available. A common list consists of the following:
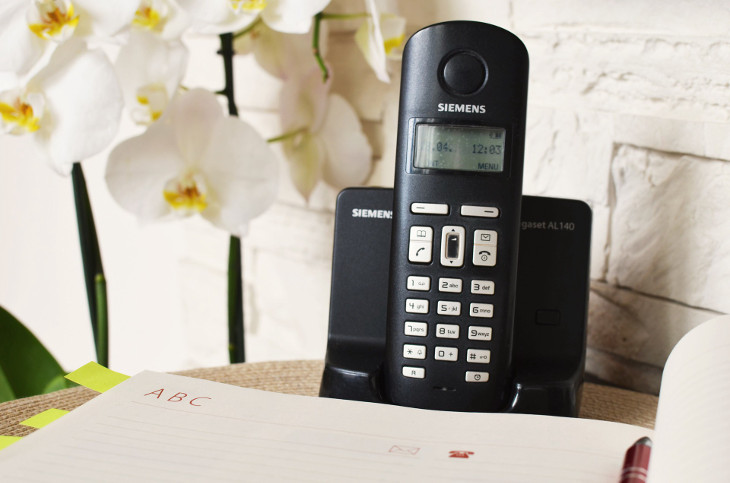
Landline
If you aren’t sure what that is or why you’d need one, don’t worry about this one! If plan to run a business from your home or just like having a home phone, having a landline is a must.
Cable
There is only so much information that can pass through a phone line. However, coax cables from the wall to your modem can achieve much higher speeds.
There are plenty of people who are still getting their television programs via cable. For these people, buying a lot with no cable should not even be considered. No matter how inexpensive the lot is, you’re going to end up paying more to run cable than you saved on the land.
Water
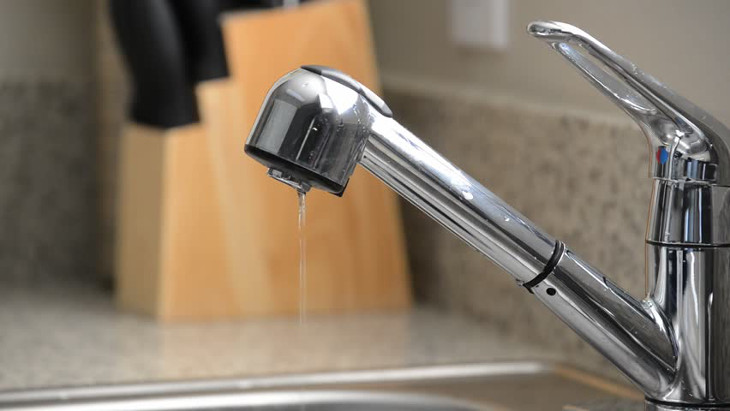
Water is essential to life, and the decisions that you make about your water supply are some of the most important things you’ll decide about your house. Does the property you’re looking at have an available hookup to city water?
If so, it’s probably in your best interest to go with that. In some states (in the United States), you have no choice in the matter anyway.
If the land you want has no water, or if you don’t want to use city water, an atmospheric water generator is your next best option. Typically, atmospheric water generators (also known as condensers) require at least 40% humidity to be effective so:
- Research the average humidity for your area, or
- “Hot rack” and only run your condenser in the evenings when the humidity is high
Conserving Water
Are you building your home because you’re worried about conservation of resources? Great! Some things that you’ll want to consider are:
- low flow shower heads
- steam showers
- low water usage washers and dishwashers
The average shower is about 20 minutes and uses approximately 40+ gallons (2.1 gallons per minute) of water with a regular showerhead. A steam shower with a low flow showerhead reduces your water usage 2 gallons for the same 20-minute shower.
Researching low water usage appliances as well as appliances for tiny spaces will bring you a lot of options, but you’ll get the most effective reduction of water usage by simply installing a steam shower when you build your home.
The Ultimate in Water Conservation
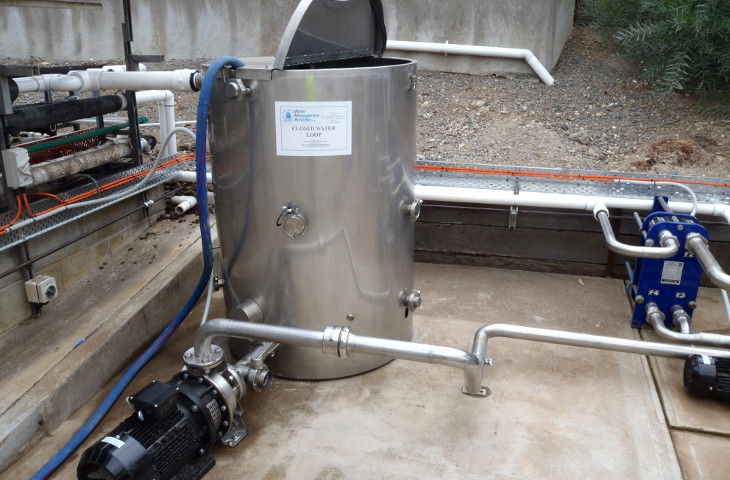
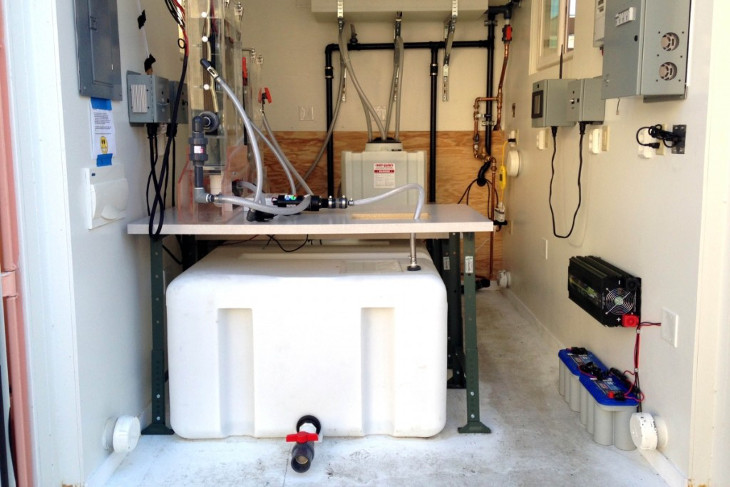
If you’re really interested in stretching your water and reducing your footprint, you’re going to want to consider installing a closed loop water system. Closed loop water systems are exactly what they sound like, there’s a certain amount of water in the system and it is recirculated over and over again.
This sounds impossible but due to modern advancements made by NASA, this technology is entirely possible. Closed loop systems vary depending on the person designing them, but here’s an example:
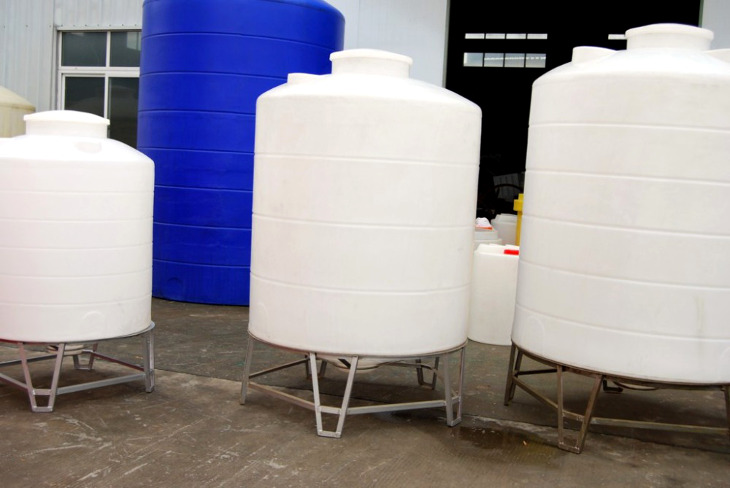
- The steam shower has a ten-gallon main tank, a ten-gallon reservoir, a ten-gallon gray water tank.
- As water is pumped from the main tank into the shower/steam maker, it drains into the gray water tank which filters the water into now potable water.
- That water flows into the reservoir. The reservoir is then filled and expels its excess into the main water tank.
Benefits of a Closed Loop System
This closed system can recycle the same water over and over again. After a while, when your water levels have dropped (due to leakage), you simply refill it at the main tank. An entire modular home can be separated into three major closed loop water systems:
- Shower
- Sinks
- Washer and dishwasher
If made into a complete water sustainable system, your air to water generator provides 100 gallons a day. The looped system will last quite a while before they need refilling and can water a garden as well. At the end of the day, you have reduced your dependence on city water and helped mother earth recapture what little fresh water we have.
Facilities
You’ll have to decide whether you want to have a septic system or a composting toilet for sewage. The two are radically different in both involvement and price.
Talk to both your architect and engineer about this decision, as there are many factors to consider. If your goal is to live off grid, you obviously do not want to be connected to the municipal water systems.
Septic Systems
In the United States, there are other reasons to avoid installing a septic system: price and paperwork.
Septic systems must be connected to the municipal sewage system, so when installing a typical septic system, you must submit several forms and obtain the necessary permits. Obtaining the required permits can add weeks to your build time.
Submitting permits is a complicated process that varies from municipality to municipality. Some will approve most permits with little scrutiny. Some will keep you engaged
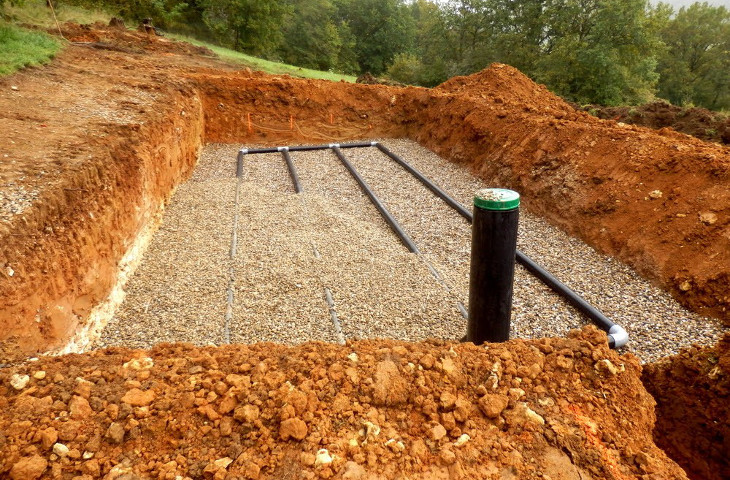
When you’ve finished with the beauracratic process, it’s time to dig. Your best option is to hire a crew who owns the equipment required to dig the hole. If this is not possible, you’ll likely have to rent the equipment by the hour at a cost of at least $200 per hour.
When the hole is dug, your team will place the septic tank in it, stabilize and attach all pipes, then fill the hole up and remove the excess dirt (you must specifically request removal.)
Septic systems can consume a large part of your budget. The total cost of installing your system can reach in excess of $30k. For most homeowners, this is a large percentage of their total budget, and bear significant consideration.
Composting Toilets
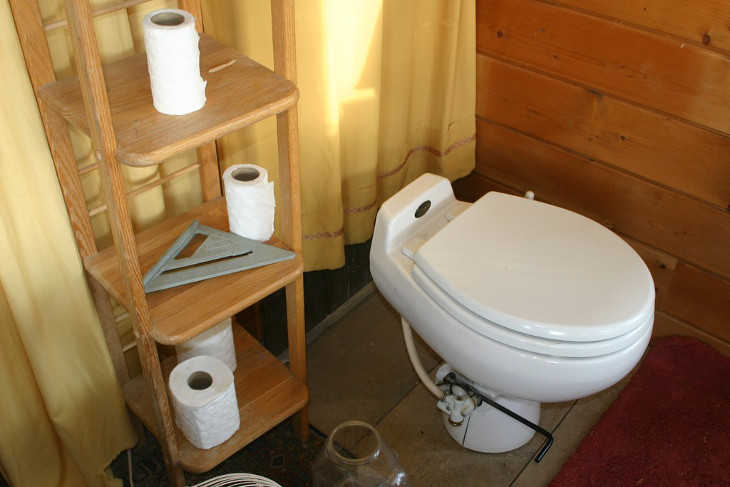
If you decide to compost instead, all you need is a composting toilet. Composting toilets make use of fibrous organic matter (frequently peat moss) in order to reduce solid waste to its organic elements. Liquids are drained off to a separate container, which can be removed and dumped outside.
Composting toilets technology has improved rapidly in the last 10 years. Units are attractive, sturdy, and easy to clean. They have a light and surprisingly pleasant soil smell, and keep most restrooms smelling cleaner than they would with water-based toilet.
Composting toilets are extremely environmentally friendly. Water-based toilets use one gallon of water every time they are flushed. A composting toilet is a great option for the environmentally conscious.
When buying a composting toilet, you should consider both the materials and the design. Most will want to ensure that their composting toilet looks and feels like a typical toilet. Steer clear of plastics and purchase a toilet made from porcelain or a high-quality composite.
Composting toilets sift solid waste through materials like peat moss or coconut fiber. Ensure that the handle structure is both solid and attractive. Most buyers prefer a hidden chamber for liquids.
A high-quality composting toilet will cost at least $1000. You composting toilet is extremely easy to install. Steps will vary, but essentially the only tasks required are to put the pieces together, attach the handle, and secure the device to the floor. It shouldn’t take you more than an hour.
Reach as far as you own
Your next step is hiring a surveyor to analyze the soil and check the boundaries of your land. It sounds tedious, but it’s essential! Without a surveyor, you could end up placing your home on shifting sands, or in your neighbor’s yard.
After you’ve decided what you want out of your home, your next step is to consult with an engineer, and potentially an architect. You don’t want to take on the tasks of pouring a foundation without an expert. An engineer with shipping container experience is just a Google search away, and hiring one will save you a lot of time and money. You should end up with:
- A blueprint – your architect should provide you with a document explaining what the finished product looks like.
- A list of supplies – request a “shopping list” to make procurement easier.
The most important part of this process is making sure your experts are on the same page. It’s a good idea to get these professionals in a room together at least once to avoid silly (and expensive!) mistakes.
Buy Your Containers
When you’ve got a plan, you need to purchase containers. Shipping containers come in three major grades:
- A – One Trip. This container has been used for a single trip. There are no visible signs of use and the paint is still new.
- B – This container has been used on a few trips but is still in solid shape. There may be a few dents here and there, but for the most part, this container is a solid option.
- C – This container has been through multiple trips and has signs of water damage. There are visible signs of rust. Some areas have holes, while other areas bear no signs of damage at all.
Each one of these container types has their uses. Grade C containers get a bad rap for being completely unusable, and in a lot of cases it’s true. But remember what containers do, and how they’re used.
Container walls are millimeters thick, and all the weight is placed at its corners. So, for instance, if a grade C container has rust damage right in the middle of the wall, and the seller is practically giving it away, well great because you know exactly where the door cutout will be now!
Your next step is to obtain your container. If you’re willing to pay a bit more, it may be worth it to buy a “one trip container”; they’re practically brand new. C grade containers are going to have a bit of rust, depending on your design plans, this may not matter.
Don’t just trust what you’re told by the seller! You must see the container you’re buying in person before completing the purchase. The internet is full of horror stories, don’t be one of them!
Get Off to a Good Start
When you’ve chosen your container, you need to have it delivered to your site. Your seller will usually hire the tractor trailer that brings it to you. If they don’t, expect to pay about $200 per hour.
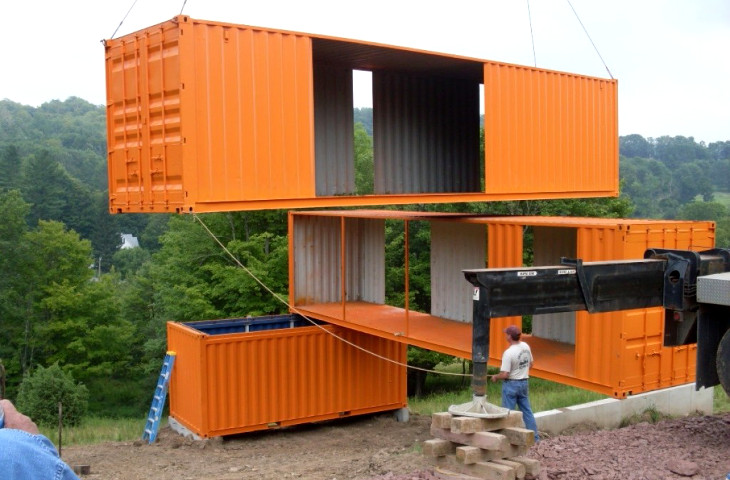
If your engineer determined that you need a concrete foundation, this is time to hire the team to pour it. Be sure that you’ve checked the weather for the days you expect to pour your concrete, as well as the days it needs to cure.
Be sure the site you’ve chosen is graded to your specifications before planting your container on the ground. Once it’s placed, it is not only difficult to move, it’s rather expensive as well. Be sure that you know exactly where it’s going!
Once your container is in place, you can go your own way. The remainder of the process is simple enough for you to complete yourself.
Your First Steps
Ideally, your engineer has given you a step-by-step guide for how to proceed. Don’t worry if they haven’t, that’s what you’re reading this for.
The first thing you need to do is cut your openings. Use a jigsaw, plasma cutter or similar tool to ensure you get clean cuts. Once you’ve completed that, you’ll want to grind or sand the edges, for safety’s sake.
Don’t scrap that metal! One of the best things about modular homes is the sustainability of the project. You can easily use the pieces you remove to form the interior walls of your new home.
Electricity
After you’ve finished framing, you’ll want to wire in electrical. You have two options to choose from, grid or off grid. A house connected to the grid is self-explanatory. Off grid is bit trickier.
No matter your level of expertise, something will be wrong. Even electricians rarely pass their first inspection. If you move on before you’re inspected, all you’ll do is lose the time you gained, when you must undo your work to fix electrical mistakes.
There are plenty of YouTube videos to walk you through this process. Do not move on until the electrical inspectors have cleared your work!
Off the Grid
Depending on your environment, you’ll want to consider solar, wind, and stream power. The most prevalent, of course, is solar power. PV or photovoltaic cells draw energy from sunlight and convert it into usable electricity.
For wind, it’s best to be in an area with higher than average daily wind gusts. There are more than a few options to go with. Some wind turbines look like normal trees!
Finally, there is stream power. Stream power is essentially the same as the commonly referred to hydro power. Simply purchase a turbine that goes into the water and the stream does the rest. It turns a wheel and the wheel creates an electromagnetic field. This field eventually turns into electricity.
No matter what combination you choose, you still need a way to store the power for later use, when renewables aren’t available. The best way to store up your saved energy is with repurposed car batteries or home power walls (Tesla makes a great model).
Plumbing
When your electrical work has been passed, get to work on your plumbing. If your building plans involved a septic tank, this has already been buried, so you’re simply installing pipes. If your goal is to be off grid, you’ll have a composting toilet, which will make this process much simpler.
Once you’ve installed your plumbing you must have it inspected. It is difficult to overstate the importance of this aspect. One leaky pipe, and your home will be ground zero for the next outbreak of cholera. That’s no good. Wait for the inspector, you’ll be glad you did.
Insulation
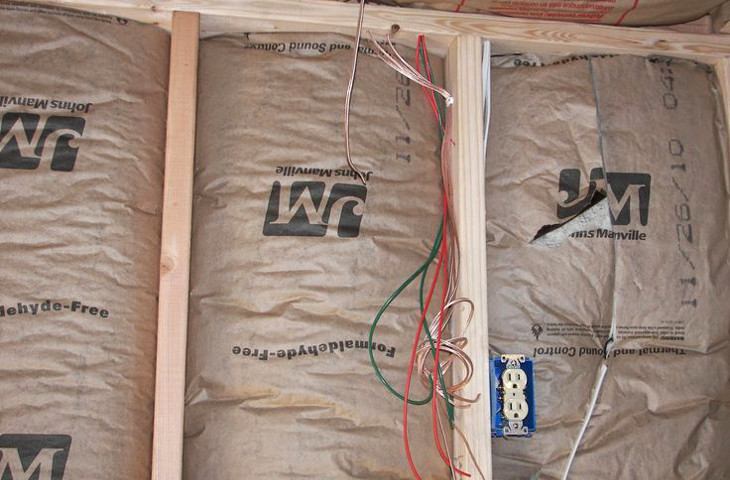
Once everything is approved, it’s time to install insulation. Whether the climate you live in is hot or cold, insulation is key to a comfortable life in your new home. Don’t skimp on installation just to save a few bucks.
When you’ve installed your insulation, it’s time to put up drywall. Be sure no insulation, plumbing, or electrical is exposed. Once you’ve put up drywall, you can decide what to do with the floors.
On the Inside
Some people choose to retain the character of the original container. They seal the floor with epoxy and consider it done. Others install additional composite or hardwood. Even others still decide to spend a few extra dollars and install heated floors. Paint the walls, and you can consider your container a home.
At this point, you have a very habitable blank slate. One of the most exciting things about modular homes is that they put much of the design process into the hands of the homeowner! But now that you have a blank slate, it’s time for a few ideas on design.
One idea that is floating around the internet at the moment is the idea of a “room within a room”. These are essentially enormous pieces of furniture (commonly called volumes). A volume is a piece of furniture that has all the pieces of furniture one could need all in one place.
Typically, the top of the volume is where the bed lies. The steps leading up to the bed double as storage containers or book shelves. Depending on the overall use of the volume, the inside could house a small fully functional bathroom, a recording stage or walk in closet.
Outside of the volume can house a reading nook, desk/office area and separate closet. The rest can be used for storage of all kinds. Let your imagination run free! One piece volumes can do whatever their creators need them for.
Use your space how you wish, you’ve earned it!

